Augmented Reality in iOS
Kelvin Kosbab | 11/14/2017
Augmented Reality (AR) has been around for a number of years, but it has only been until very recently that AR is being brought into the mainstream. With iOS 11 and the support of the ARKit framework, Apple is opening the doors for developers around the world to bring augmented reality into the hands of virtually anybody who owns an iOS device. ARKit takes apps beyond the screen by taking digital objects and placing them into the environment around the user, enabling the user to interact and experience the real world in completely new ways.
Currently ARKit has four primary capabilities:
Positional Tracking
ARKit detects and maintains state for and the pose and orientation of the device. Sophisticated sensors and software provide information about the device’s movements in the real world, making augmented reality possible.
Real-World Analysis
ARKit is capable of analyzing the world around the user by producing anchor points of significant features in the area surrounding the user as well as estimating the currently lighting conditions of the area. Currently the scene understanding is limited to detecting horizontal planes (floors, tables, etc), but other detection methods will likely be supported as the framework matures.
Rendering Integration
ARKit provides developers opportunities to integrate various rendering technologies, such as SpriteKit, SceneKit, and Metal as well as with popular game engines such as Unity and Unreal.
Face Detection and Tracking
With the release of the iPhone X, ARKit provides robust face detection and tracking using the phone’s front facing camera. With the iPhone X, facial expressions are tracked in real time and lighting is accurately estimated by utilizing the user’s face as a light probe.
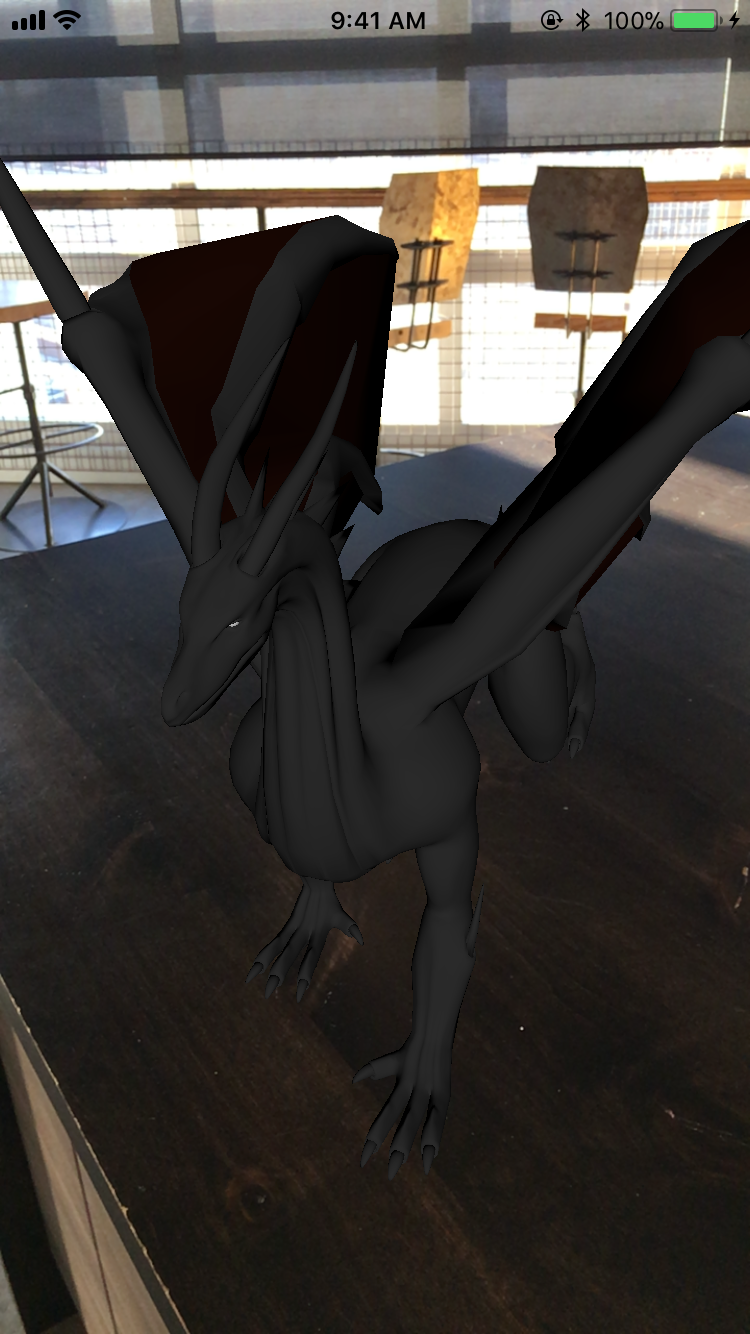
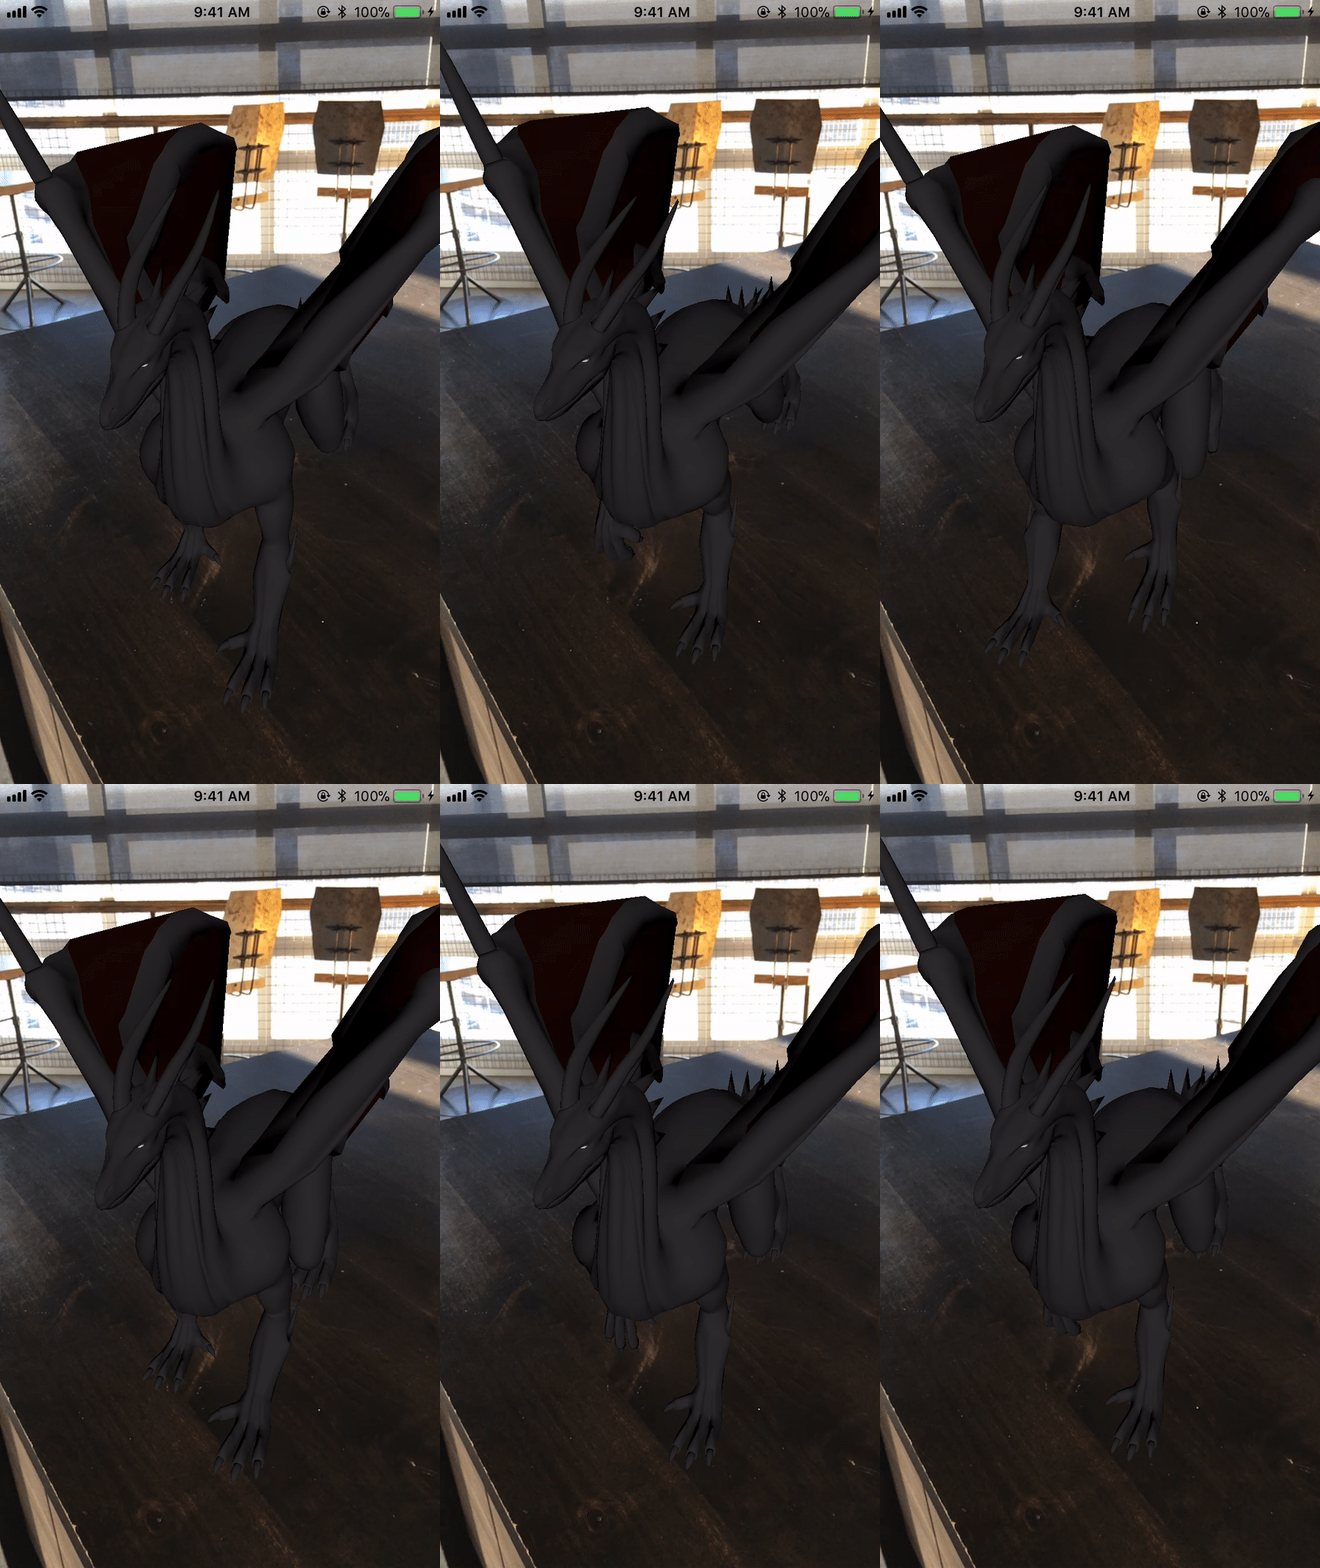
There are numerous articles currently available about how to initially set up an ARKit project, so this post will focus more on topics when developing with ARKit and SceneKit. This article makes use of a sample AR demo project which detects a horizontal plane in the area in front of the user, loads in a 3D model of a dragon, places the model on the plane, and then animates the dragon when it has been tapped.
Getting Started and Plane Detection
The first step in creating an augmented reality experience using ARKit is to create an ARSession. ARSession is the object that handles all the processing done for ARKit, everything from configuring the device to running different AR techniques for the ARSceneView object, which is visible to the user.
To run a session in the ARSceneView an ARConfiguration object needs to be set up, which will determine the tracking type for the app. For the sample project, horizontal surface detection is needed, so an ARWorldTrackingConfiguration object is created with its planeDetection property set to .horizontal. Next the session is ran with the horizontal plane detection configuration.
// Create a session configuration
private let session = ARSession()
private let sessionConfig = ARWorldTrackingConfiguration()

// Configure session
self.sessionConfig.planeDetection = .horizontal
self.sessionConfig.isLightEstimationEnabled = true
self.sessionConfig.worldAlignment = .gravityAndHeading
self.session.run(self.sessionConfig, options: [ .resetTracking, .removeExistingAnchors ])
Notice the planeDetection property is not a boolean value and is instead an ARWorldTrackingConfiguration.PlaneDetection object, which suggests that other plane detection methods, such as vertical plane detection, may be available in the future.
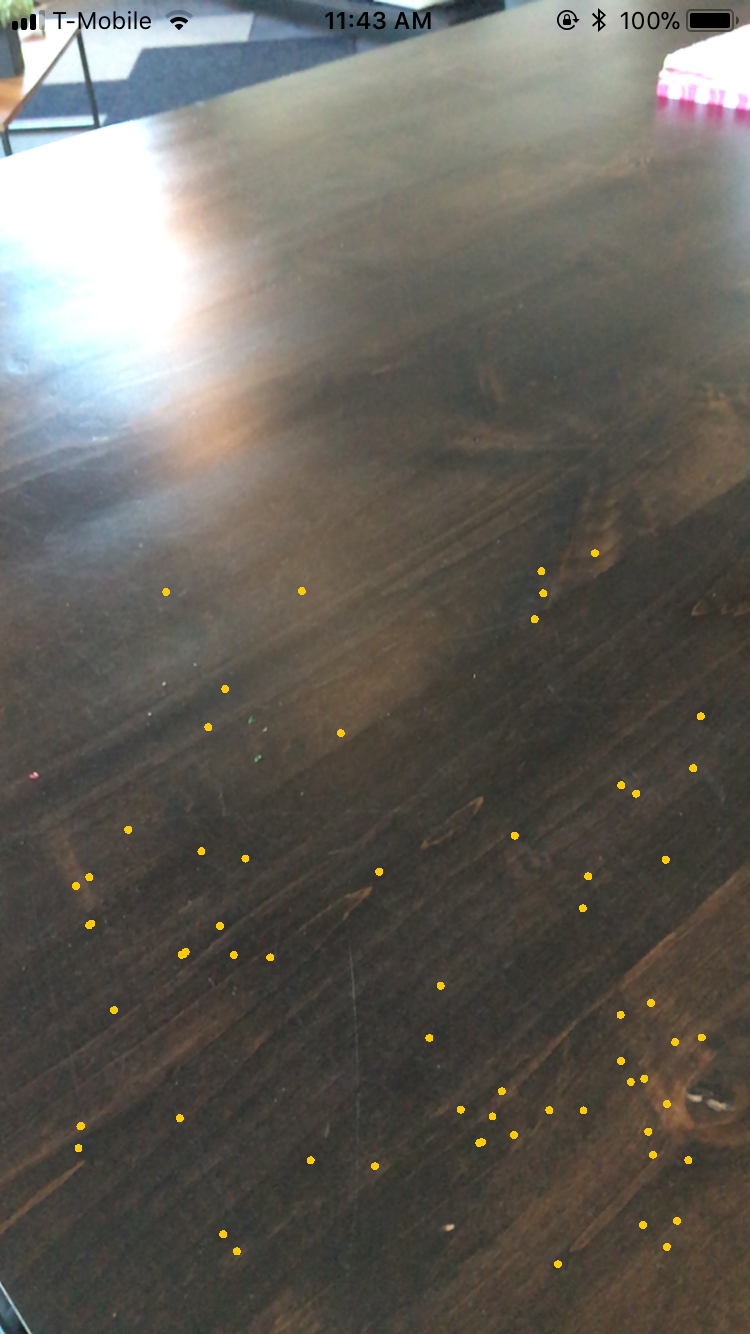
To help visualize how ARKit detects feature points and anchors planes around the user, a debug option can be set via sceneView.debugOptions = [ ARSCNDebugOptions.showFeaturePoints ]. When the session runs, yellow dots on the screen indicate the points that the camera and ARKit determine to be reference points in the environment. The more feature points in the area, the better chance ARKit has to determine and track the environment and the AR scene in that environment. As you get started using ARKit, you will notice that some surfaces are better than others for providing reference points. Objects which are shiny or lack any proper definition make it difficult for the device to obtain a decent reference point and to be able to distinguish unique points in the environment. Areas with poor lighting conditions can also compound these problems. If you are not seeing many yellow feature points, slowly move around the area and point the device’s camera at different objects to help determine which surfaces can be identified.

Once a plane is detected, the ARSCNViewDelegate method renderer(_:didAdd:for:) is called, which notifies that a SceneKit node corresponding to a new AR anchor has been added to the scene. In this example, we check if the argument anchor is an ARPlaneAnchor, and if so, we then save this as our planeAnchor, which will be used as the base location where to place the 3D model. The anchor object also provides information for the size of the plane detected, which allows for scaling of the scene if necessary.
func renderer(_ renderer: SCNSceneRenderer, didAdd node: SCNNode, for anchor: ARAnchor) {
Log.logMethodExecution()

guard let planeAnchor = anchor as? ARPlaneAnchor else { return }

// Add a dragon to this new plane anchor
self.addDragon(to: planeAnchor)
}
3D Models in SceneKit
As stated above, ARKit integrates well with SpriteKit and SceneKit, Apple’s respective 2D and 3D frameworks, which have been available for macOS and iOS for a number of years. Due to these years of development, Apple already has mature platforms which can be quickly hooked into an AR project to add 2D or 3D virtual elements.
There’s a wide variety of 3D model formats available, but for this project, we are working with COLLADA (.dae) files. COLLADA is an open 3D format which many 3D modeling apps support. It was originally intended as an interchange format between competing 3D standards, but it has gained the support of a number of software tools, game engines and applications. COLLADA is also well supported in the Apple ecosystem, including the macOS Finder, Preview, and Xcode.
If the model has image textures which are referenced in the model file, then copy the .dae file and its associated image assets into the SCNAssets folder, in this example Models.scnassets. One of the advantages of COLLADA being an open XML format is that the model file can be opened and edited with a standard text editor, which can be particularly useful if the image paths were improperly referenced (absolute path versus a relative path).
// From ARViewController.swift
func addDragon(to anchor: ARPlaneAnchor) {
let dragonNode = DragonNode()
dragonNode.loadModel { [weak self] in

// Position the dragon
let position = anchor.transform
dragonNode.position = SCNVector3(x: position.columns.3.x, y: position.columns.3.y, z: position.columns.3.z)

// Add the dragon to the scene
self?.planeAnchorDragons[anchor] = dragonNode
self?.sceneView.scene.rootNode.addChildNode(dragonNode)

// Pause any animations
dragonNode.isPaused = true
}
}

// From VirtualObject.swift (DragonNode inherits from VirtualObject)
func loadModel(completion: @escaping () -> Void) {
DispatchQueue.global().async { [weak self] in

guard let strongSelf = self else {
return
}

let virtualObjectScene: SCNScene
if let scene = SCNScene(named: "\(strongSelf.modelName).\(strongSelf.fileExtension)", inDirectory: "Models.scnassets/") {
virtualObjectScene = scene
} else {
Log.log("Virtual object '\(strongSelf.modelName).\(strongSelf.fileExtension)' is undefined. Using empty scene.")
virtualObjectScene = SCNScene()
}

let wrapperNode = SCNNode()
strongSelf.baseWrapperNode = wrapperNode

for child in virtualObjectScene.rootNode.childNodes {
wrapperNode.addChildNode(child)
}

DispatchQueue.main.async { [weak self] in
self?.addChildNode(wrapperNode)
self?.modelLoaded = true
completion()
}
}
}

Animations
Not all 3D models are static entities and some include animation effects. There are a variety of ways to start, stop, or create custom animations, whether it is for a particular object or for the entire scene.
To toggle all embedded animations for the scene requires just a single line of code:
self.sceneView.scene.isPaused = !self.sceneView.scene.isPaused
Toggling the animations for just a single node has similar functionality:
dragonNode.isPaused = !dragonNode.isPaused
These are simple methods to toggle the overall animation, but if you need more fine-grained control of the animations, then you will need to iterate through your SCNNode and modify each of the embedded animations.

Hit Detection
Being able to add objects to a scene is a key element for creating an augmented experience, but it does not provide much usefulness if one cannot interact with the environment. For this demonstration, tapping on the dragon will toggle its animation.
Upon tapping the screen, the sceneView will perform a hit test by extending a ray from where the screen was touched and will return an array of all of the objects which intersected the ray. The first object in the array is selected, which represents the object closest to the camera.
Since a 3D object might be comprised of multiple smaller nodes, the selected node might be a child node of a larger object. To check if the dragon model was tapped, the selected node’s parent node is compared against the dragon node. If so, this will then call a method to toggle the model’s animation.
func registerTapRecognizer() {
let tapGestureRecognizer = UITapGestureRecognizer(target:self ,action : #selector(self.screenTapped(_:)))
self.sceneView.addGestureRecognizer(tapGestureRecognizer)
}

@objc func screenTapped(_ tapRecognizer: UITapGestureRecognizer) {
let tappedLocation = tapRecognizer.location(in: self.sceneView)
let hitResults = self.sceneView.hitTest(tappedLocation, options: [:])

// Check if the user tapped a dragon
// Hit result node hierarchy: Dragon_Mesh > VirtualObject Wrapper Node > DragonNode
if let dragonNode = hitResults.first?.node.parent?.parent as? DragonNode {

// Toggle the dragon animation
dragonNode.isPaused = !dragonNode.isPaused
}
}
Clearing Out Old Scenes
Loading in 3D models and the associated textures can be extremely memory intensive, so it is important that any unused resources are properly released when they are not necessary. Especially since ARKit currently doesn’t support the scene unless the AR scene is active on the device, clearing the scene on viewDidDisappear as well as listening for the UIApplicationWIllResignActiveNotification may help performance as well as help with maintaining a consistent AR state within the app.
When removing a child node from a scene, it is not good enough to just call the node’s removeFromParentNode() method. Any material objects from the node’s geometry also need to be set to nil before removing the node from its parent.
func clearScene() {

// Remove all dragons
self.planeAnchorDragons.removeAll()

// Remove all nodes
self.sceneView.scene.rootNode.enumerateChildNodes { (node, _) in
node.removeFromParentNode()
}
}
Conclusion
Augmented reality is going to continue to become a bigger part of everyday life, allowing users everywhere to view and interact with the world in ways we never thought possible. With the ARKit framework and all the tools at their fingertips, developers have the ability to map out the environment, including lighting estimation, horizontal surface detection and even human faces with the iPhone X. From there developers can let their creativity guide them to create immersive experiences for their users, altering what an app is and building a bridge between the digital world and the real world.