Prototyping with Framer.js
07/23/2014
Prototyping is a critical part of our design process. It’s a great way to explore ideas and learn from watching your designs be used by others. Previously we’ve mentioned how we used techniques involving folded paper and other tools, like Adobe Edge Animate, for prototyping. Those approaches served their purpose for communicating interface concepts, but we wanted to explore something a bit more robust.
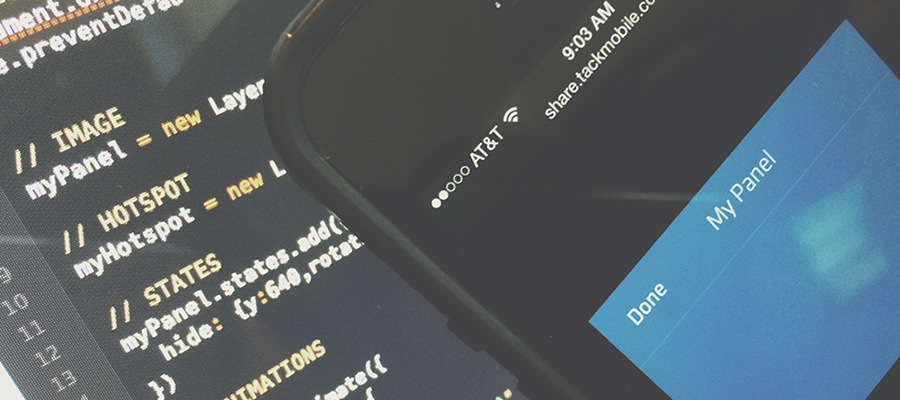
Framer.js is a prototyping framework built on top of JavaScript that supports things like gestures, animations, states, etc. It’s pretty quick to get going and since it’s based on web technologies, it’s easy to share your prototypes and have them run directly on the device rather than having to be tethered to a computer. For example, prototyping interactions for our latest app, Aurora.
With a little bit of coding knowledge, you can bring a level of interaction and animation to your designs. There’s even a Framer Generator extension for Photoshop and Sketch, as well as Framer Studio. If you get stuck, there’s also a Framer Facebook group.
Layers
Everything in Framer starts with Layers. A Layer is simply a bounding area that can have a color, image or text applied to it to make it visible. In addition, each Layer has a number of properties that can be adjusted, like opacity, width, height, scale, blur, etc. For prototyping, we use Layers in two ways:
- As an image, which holds different elements we’ve sliced out of our designs, like a header, button, etc. Depending on how complex we want the prototype to be, there may be views that are simply “baked” together rather than a series of individual elements.
- As a hotspot, which is basically an element that we use to trigger animations or support interactions. While testing, we’ll make these hotspots a lime color at 50% opacity for testing. When things are all buttoned up, we’ll change the hotspot opacity to 0%.
Here’s an example of two layers using an image and one styled more like a visible hotspot:
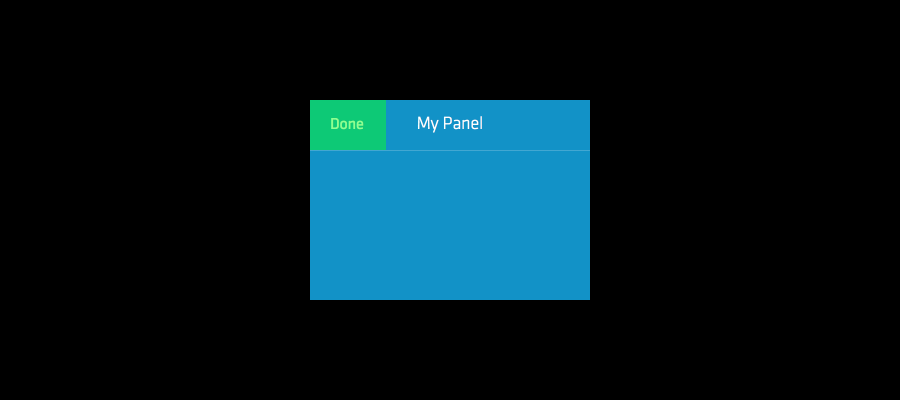
// IMAGE
myPanel = new Layer({x:20, y:100, width:280, height:200, image:"images/panel.png", opacity:1})

// HOTSPOT
myHotspot = new Layer({x:20, y:100, width: 76, height: 50, backgroundColor: "lime", opacity:.5})
You can also nest Layers within other Layers, which is great for manipulating a group of elements.
States
Layers can have a series of States, which are a series of property changes that you can trigger or loop through. They’re used to represent the states of your app, like a menu sliding in, a tab highlighting, etc. So, based on some interaction, you could trigger a state to change.
Since States are associated with Layers, you could define a state that hides a panel:
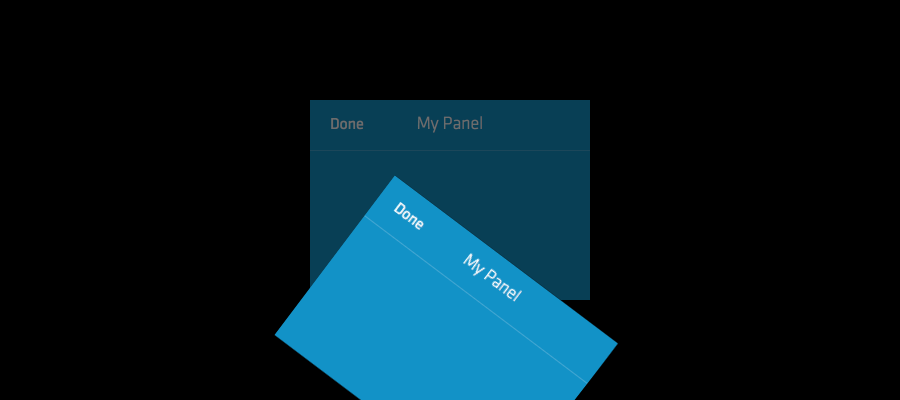
// STATES
myPanel.states.add({
  hide: {y:600,rotationX:90}
})
Animations
Every prototype we create has some kind of animation that needs to occur, whether it’s triggered by a direct interaction or by some other event. In fact, animations are always one of the things that always bring up the most questions. Prototyping is a great way to share out thinking around the role animation might play in guiding the user, presenting content on the screen, etc.
Animations generally occur any time a property changes. For example, if State A has a Layer at a Y position of 0 and you trigger State B with that same Layer at a Y position of 100, that Layer will animate automatically for you. You can also specify a duration, delay and other properties of the animation. Generally, you may chose to trigger state changes via an interaction.
You can also create standalone animation that aren’t dependent on a state change or can be triggered at any time. For example, if you want to have an element scale into view.

// ANIMATIONS
myPanel.animate({
  properties: {
    scale: 1
  },
  time: .2,
  curve: "spring(100,10,0)"
});
Out of the box, Framer’s animations are fairly “springy”, which is actually pretty nice because there is automatically a dynamic quality added to your prototype. That said, you can always fine tune the curve for the animation:
// ANIMATION OPTIONS
myPanel.states.animationOptions = {
  curve: "spring(100,12,0)"
}
With all the properties you can tweak on an animation, you really have a great sandbox to play in to get the feel of your animations down.
Interactions
Framer comes with a default set of interactions, called Events, which include things like tap, double tap, drag and more. There aren’t an extensive amount of gestures, but that’s fine for the purposes of most of our prototypes and they can likely be added in other ways.
A tap interaction looks like this:
// INTERACTIONS
myPanel.on(Events.Click, function(event) {
 myPanel.states.next("hide");
})
When you detect an event on a Layer, you can use that to trigger any number of things, like a State or property change.
A template for prototypes
While using Framer for mobile prototypes, we added some additional bits to our HTML and JavaScript files that helped make the prototypes feel more “real” on iOS.
One thing we do is disable the default scrolling behavior of the device:
// Disable default scrolling
document.ontouchstart = function(e){
    e.preventDefault();
}
This lets Framer do all the work for dragging and prevents any weird conflicts between Framer and the browser.
In some prototypes, we want to add a parallax effect when the user tilts their device. There are several code snippets floating around, but here’s an example that shifts a background image based on the tilt of the device:
// Shift background image based on device tilt
window.addEventListener('deviceorientation', function(eventData) {
  eventData.alpha
  eventData.beta
  eventData.gamma
});

window.addEventListener('deviceorientation', function(eventData) {
  var yTilt = Math.round((-eventData.beta + 90) * (40/180) - 40);
  var xTilt = Math.round(-eventData.gamma * (20/180) - 20);
  if (xTilt > 0) {
    xTilt = -xTilt;
  } else if (xTilt < -40) {
    xTilt = -(xTilt + 80);
  }
  myBackground.y = yTilt * 1.5;
  myBackground.x = xTilt * 2.5;

}, false);
Adding an app icon, splash screen, status bar styling and getting the prototype to be launchable from a user’s Home Screen without the Safari chrome is also a nice extra detail. It gets you one step closer to making a prototype feel more like a native app. On iOS, you can do this with a series of meta tags in your HTML and appropriately sized images.
When someone opens your prototype in mobile Safari, they can add it to their Home Screen via the share options. For more information on icons, splash screens and other meta information available on iOS, check out this post.
Wrap Up
We’ve used Framer.js for prototyping numerous times with great success. Being able to iterate quickly is valuable to us and our clients. We’ve been able to make multiple variations of a prototype for user feedback sessions really quickly, which is great. Most of all, being able to send prototypes out and allowing people directly interact with a prototype within different environments is an important part of the process.
There are many prototyping solutions out there that all serve different goals. We’ve added Framer to our suite of tools and encourage others to check it out as well.
If you’re interested in learning more about Framer, check out the website, examples and documentation. You can also download a template project we’ve put together specifically for prototyping for mobile devices and use it as starting point.